Click Zen not only detects risky individual IPs but also identifies subnet-level threats — groups of related IPs showing similar suspicious activity. Blocking entire subnets helps you prevent recurring invalid traffic from the same network range.
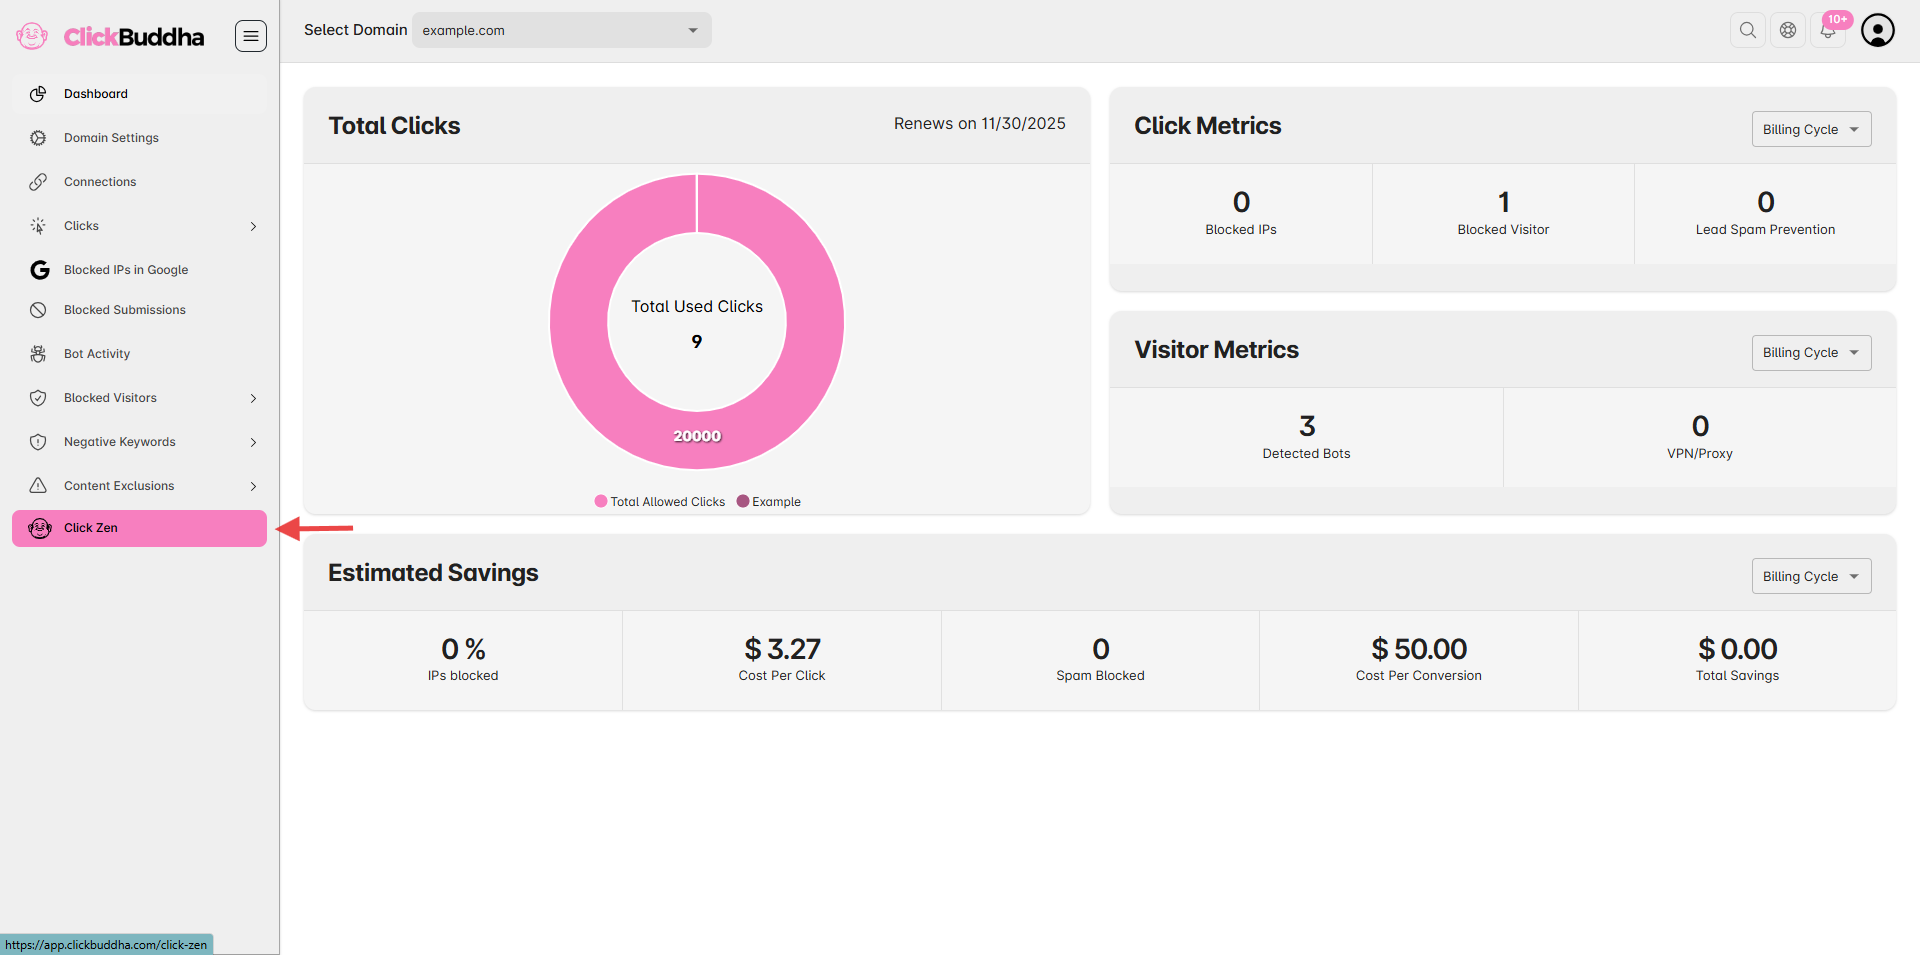
Step 1: Log in to Click Buddha
Sign in to your account and Open your Click Buddha Dashboard.
Step 2: Go to Click Zen
From the sidebar, click on Click Zen (marked with your theme color) to open the analysis section.

Step 3: Run Subnet Analysis
After Blocking IPs at Google and Microsoft, click Finalize to start Subnet Analysis.
Click Zen automatically groups related IPs into subnets (e.g.,
/24,/16) if multiple IPs within the same range show suspicious patterns.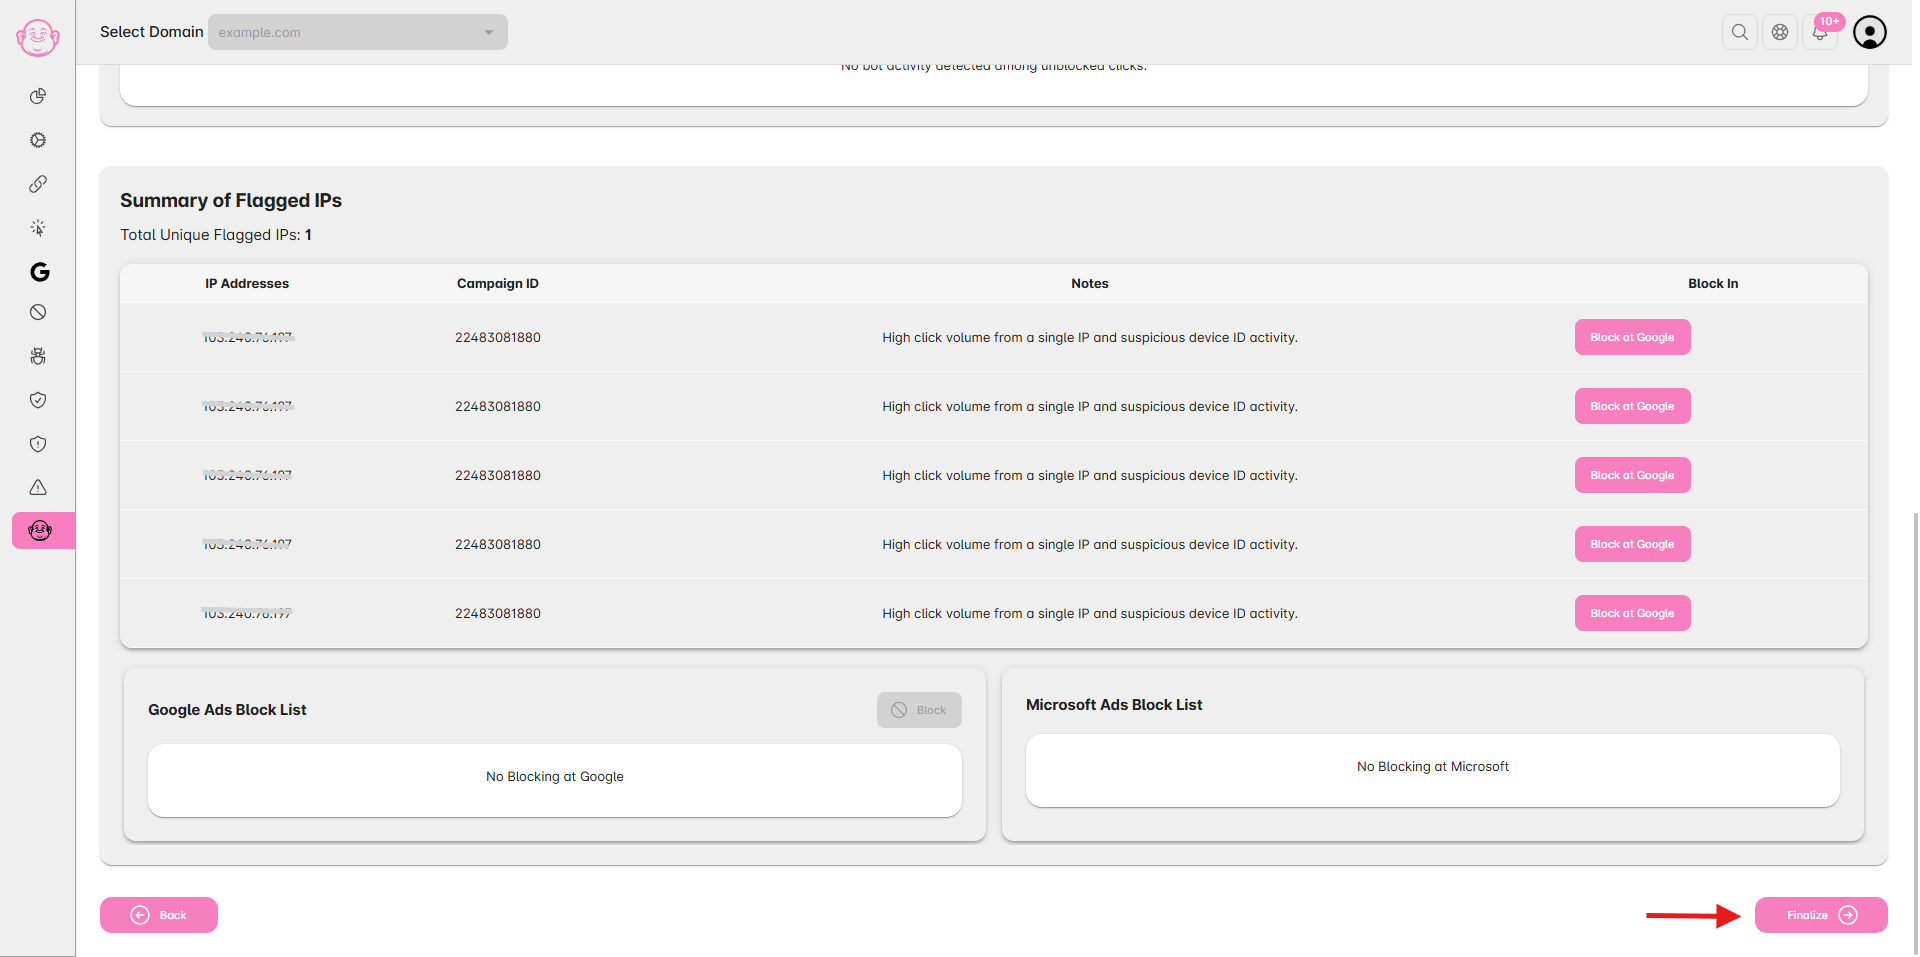

Step 4: Review Subnet Details
Click the checkbox to block the whole subnet.
Total number of flagged IPs within the subnet.
This helps you verify whether the entire network range poses a risk.
Step 5: Block the Subnet
If the subnet shows consistent invalid activity:
Click “Block” to block the entire IP range.
Confirm the action in the prompt.
Once confirmed, Click Buddha automatically adds all IPs within that range to your Blocked IPs list.
Step 6: Sync with Google Ads
Once you blocked, the subnet IPs are automatically pushed to your connected Google Ads account to stop future fraudulent clicks.
⚠️ Notes: Applies to Google Ads only. Review and block malicious subnets.
✅ Tip: Subnet blocking is ideal for high-volume spam or bot networks. However, use it carefully — some ISPs share subnets among multiple users, so review detection accuracy before applying broad blocks.