You can easily add and configure new domains inside Click Buddha to start tracking visitors, blocking bots, and managing protection settings.
Step 1: Log in to Click Buddha
Open your Click Buddha Dashboard and log in to your account.
Step 2: Open Domain Settings
Go to Domains from the User Profile menu,
or click on the “Add Domain” button directly from the dashboard banner.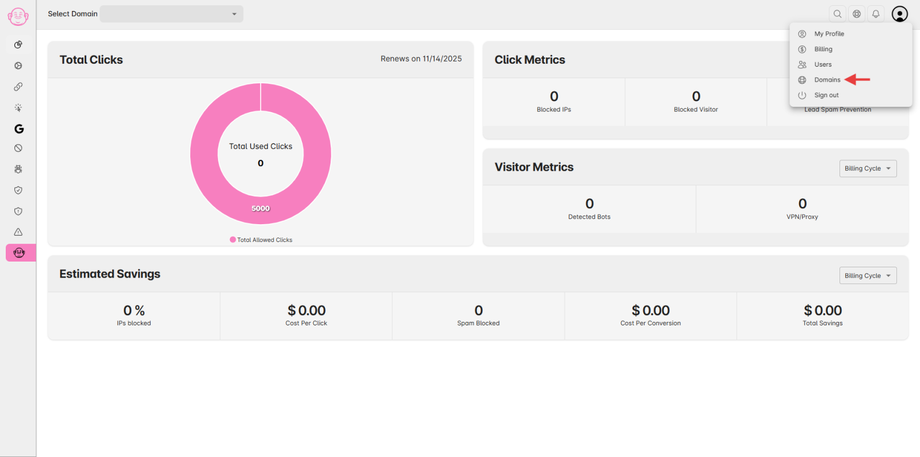


Step 3: Add a New Domain
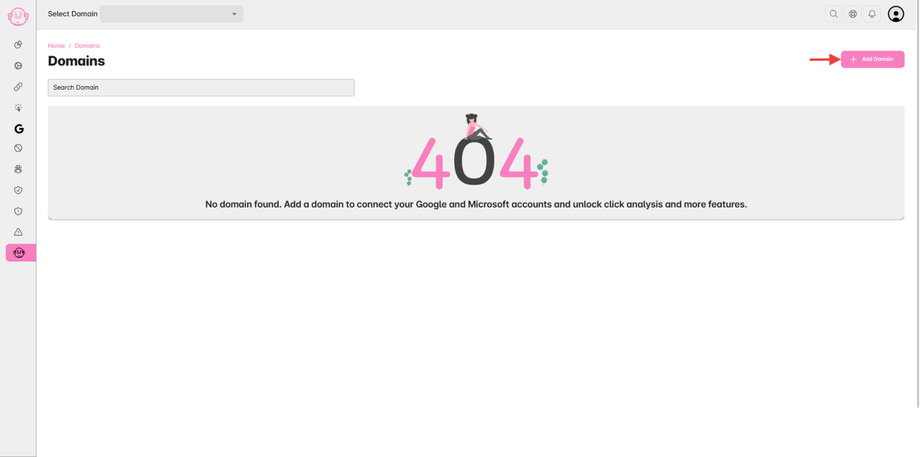
Click the “Add Domain” button on the top-right corner.
You’ll see a 4-step process to complete your domain setup.
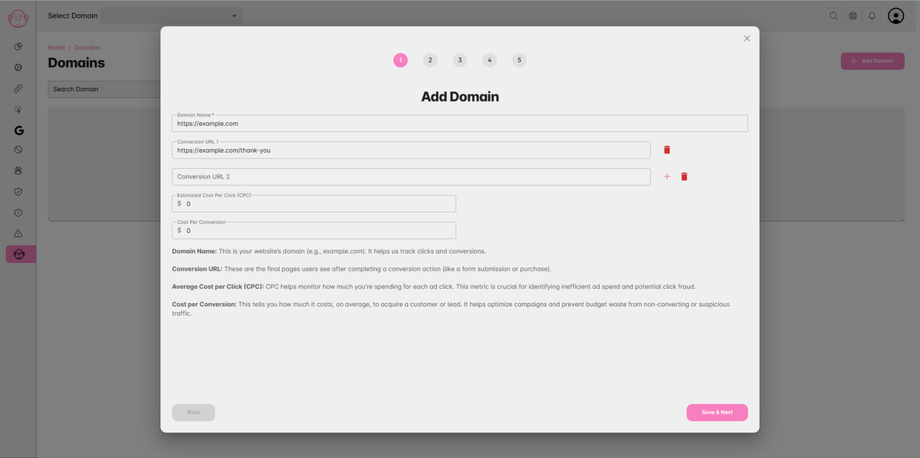
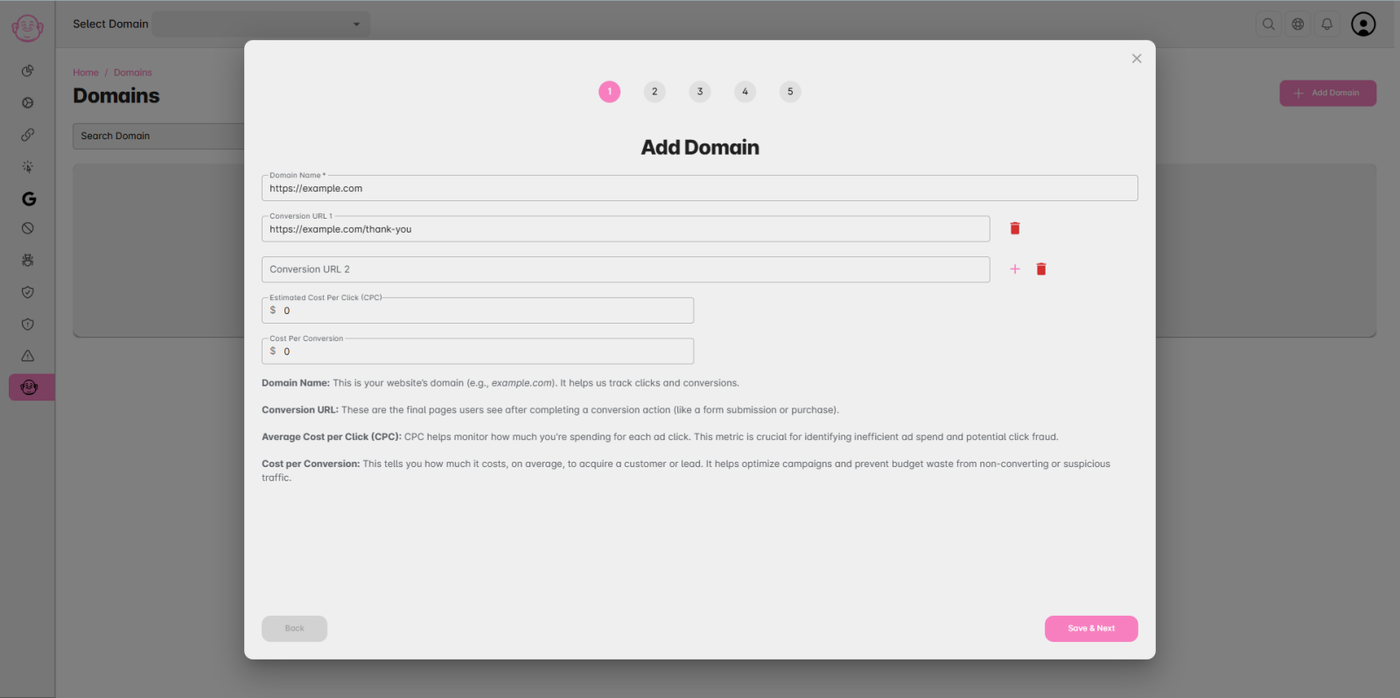
Step 4: Add Domain Details
Enter the following details:
🌐 Domain Name (required)
🔗 Conversion URLs (optional)
💰 Estimated Cost per Click (optional)
🎯 Average Cost per Conversion (optional)
After filling in the details, click Save & Next.
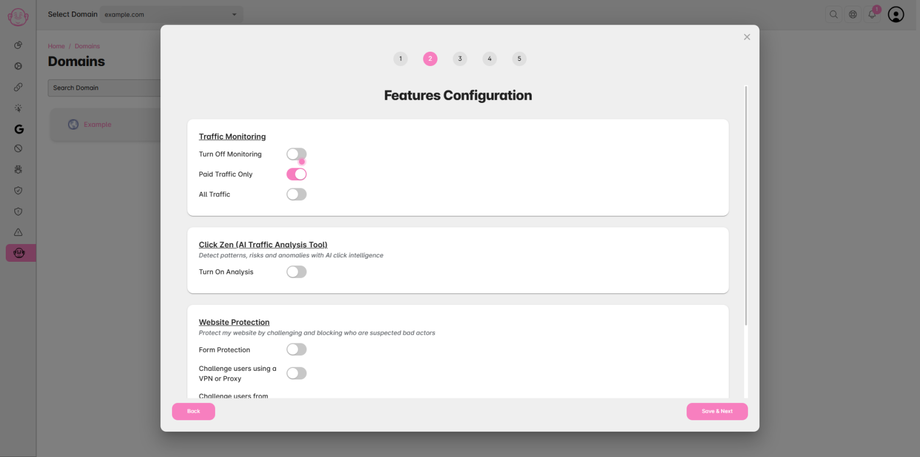
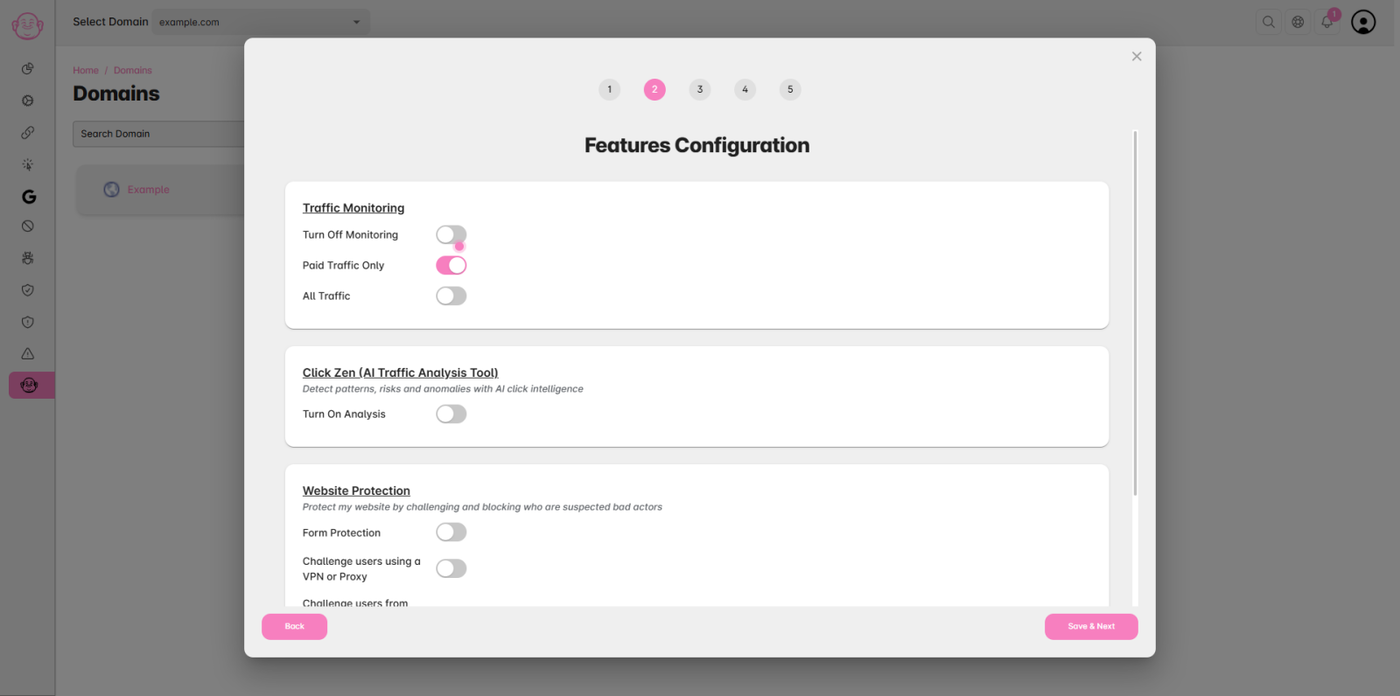
Step 5: Configure Protection Settings
Enable or disable the features you want for this domain, such as:
✅ Traffic Monitoring
🛡️ Form Spammer Detection
🤖 Bot Detection
Once configured, click Save & Next.
Step 6: Install the Script
Copy the Script Tag displayed on this step.
Paste it inside your website’s
<head>tag or on every page where you want the script to run.After installation, click Save & Next.

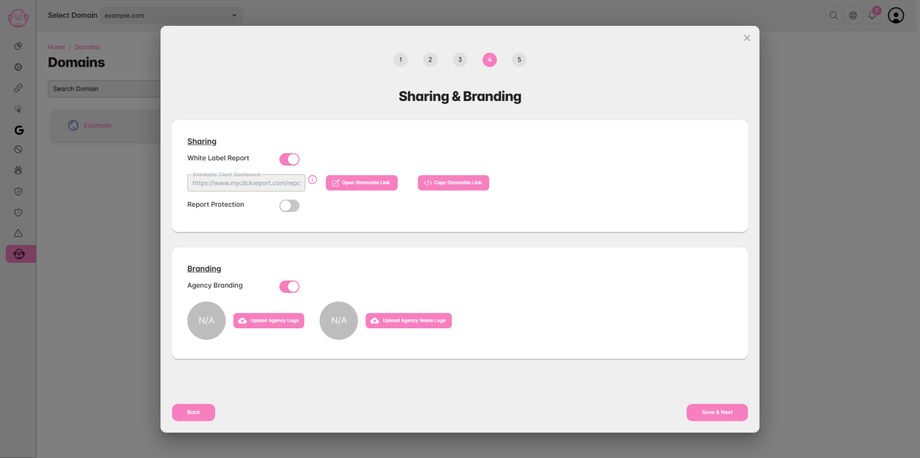
Step 7: Sharing & Branding
Add your Company Logo and Text Logo for branding.
Enable White-Label Reports to share dashboards with others.
Protect shared reports with a password if needed.

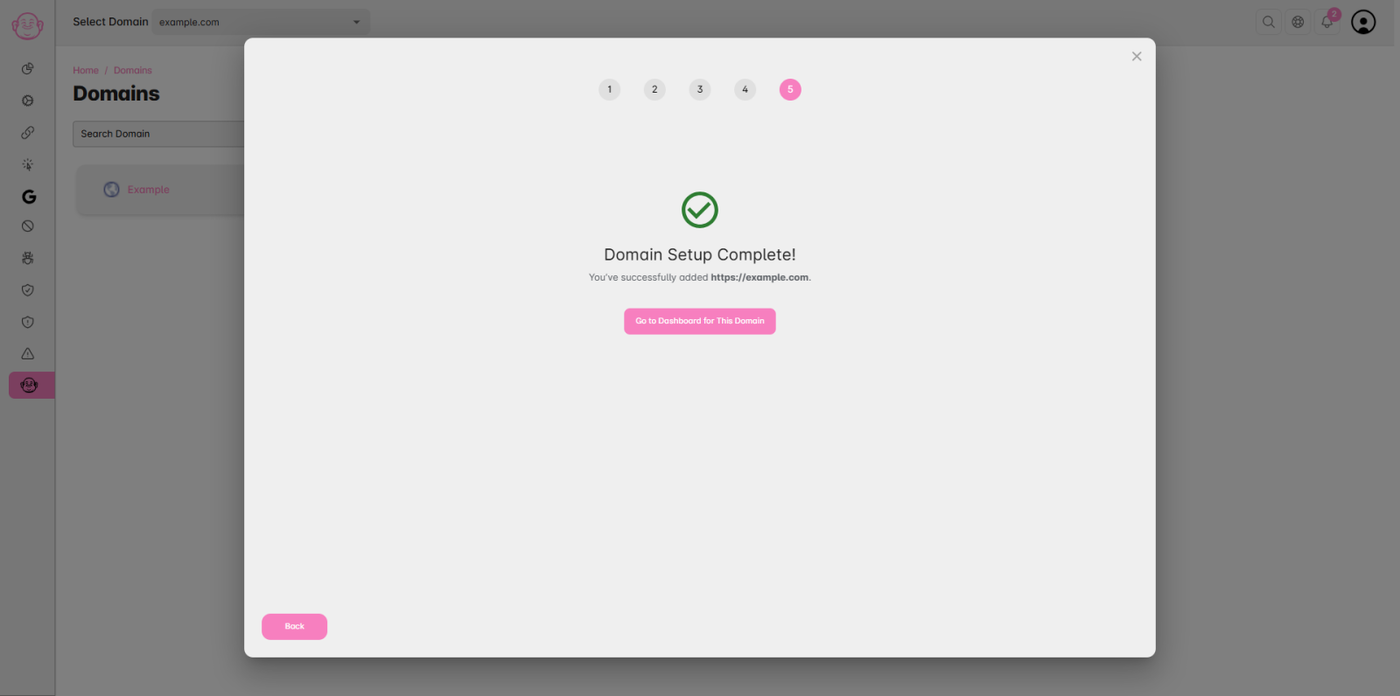
🎉 Done!
You’ve successfully added your domain.
Now head to your Domain Dashboard to start monitoring clicks, detecting bots, and viewing analytics.